 Often times during the course of a project, you will find that you need to create custom routes in Magento 2 (a page that is not managed in the CMS). This demo will help you to understand how to create a Magento 2 module that will allow you to access a custom route and apply a custom template that you can add static blocks to.
If you’re looking to create a custom route in Magento 1,
see this link.
A Step by Step Tutorial to Create Custom Routes in Magento 2
The first thing we need to do is create a module that will hold our route. There are a lot of articles on the web about this, but in general, we will create our package in ‘app/code’. Then we register the module and the route. After creating the route controller, we can then set a template to it which will give us access to inserting other things like static blocks.
If you want to skip the tutorial and just download the package, unzip the contents and place it into ‘[webroot]/app/code/’, then skip to Step #5.
Download the HE CustomRoute Module
Everyone else interested in doing this the involved way, follow these quick five steps and you will have a custom route module that you will be able to use as a starter in the future. If you’re also interested in an in-depth analysis of how Magento 2 handles routing overall, read this article from the DevDocs to understand the higher level principles.
Step 1: Navigate to the Webroot
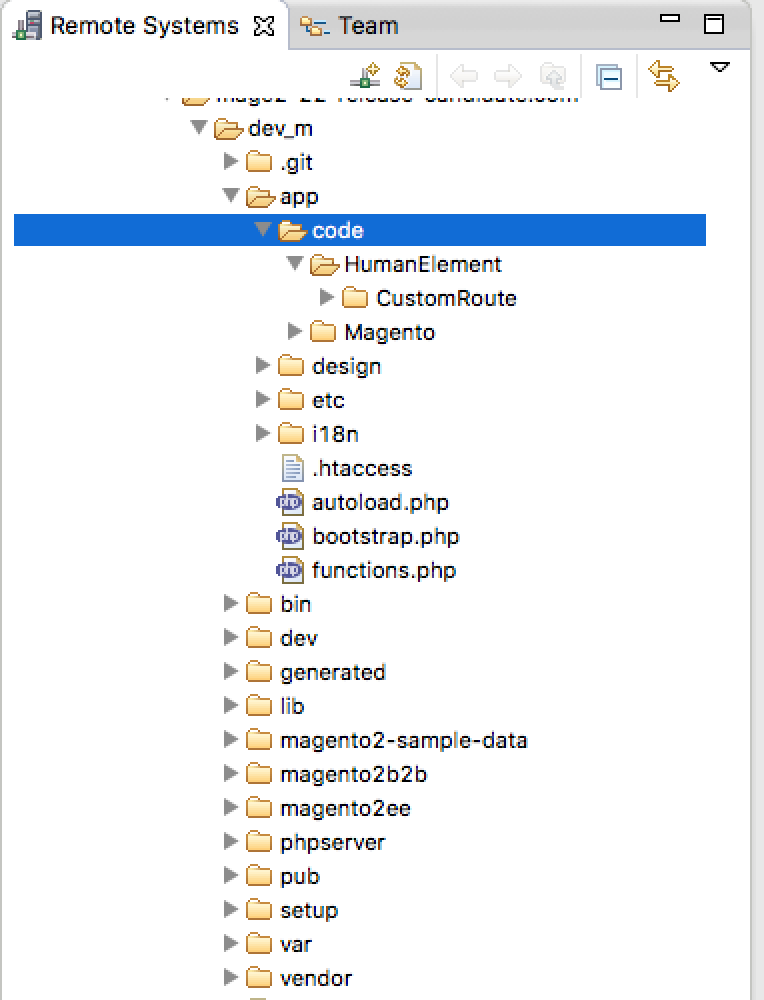
Open up your filesystem and navigate to the webRoot on your development environment. As opposed to Magento 1, the only directory that will concern us at the moment will be ‘app/code’. Within ‘app/code’ we are going to create a folder called “HumanElement” and a sub-directory beneath there called “CustomRoute”. This directory will serve as the location for our local site extension.
Step 2: Create the Interior Module Files
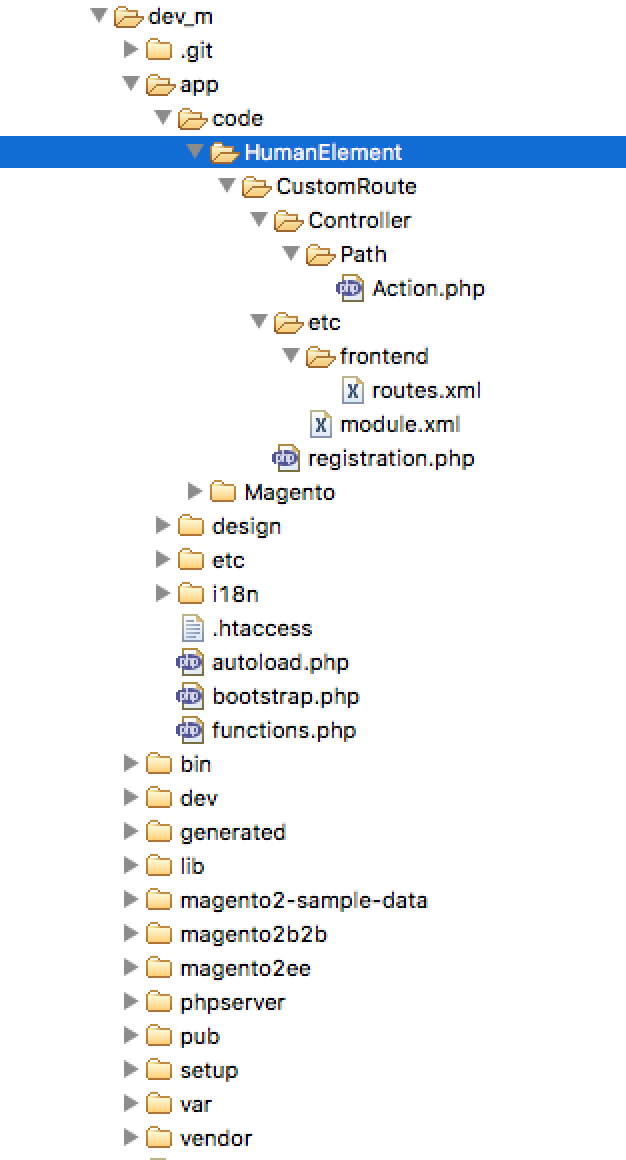
Now we are going to create the guts of the module which, in this case, will consist of a big-C ‘Controller’ and ‘etc’ directory and registration.php file. In Magento 2 routing is handling a little differently than in Magento 1. In Magento 1 we put controllers into the ‘controller’ directory and named them something like IndexController.php in which you could specify many actions for your frontname. In Magento 2, controller actions are assumed based on your directory and file naming convention, and every action class name has it’s own ‘execute’ function which takes the place of the indexAction() method found in Magento 1. For example, ‘frontname/ControllerSubfolder/ControllerActionClassName:execute()’
Here is how the whole interior should be structured:
Step 3: Setup the registration.php and module.xml files
The registration.php and module.xml files take the place of the Magento 1 ‘app/etc/modules/Magento_One.xml’ files. The contents are pretty simple and once you do it a few times, you’ll be able to just copy and paste and change the module name.
Here is a look at the contents:
registration.php
<\?php
 /**
  * @package
  * @version
  * @author      Human-Element, Inc. <[email protected]>
  * @copyright   Copyright 2016 Human-Element, Inc.
  **/

\Magento\Framework\Component\ComponentRegistrar::register(
    \Magento\Framework\Component\ComponentRegistrar::MODULE,
    'HumanElement_CustomRoute',
    __DIR__
);
module.xml

Step 4: Create the Controller Action.php and route.xml
This is the step last to create custom routes that are functional. Once your action and route are created you will be able to hit this url on the frontend, but there are a couple things to note:
1. All routes will extend “\Magento\Framework\App\Action\Action”
2. Every route class must have a public construct where you will need to pass the context and pageFactory.
3. The execute function is where you will wrap your business logic by calling models, helpers, and blocks.
Here is a look at how the route.xml should be structured:
route.xml
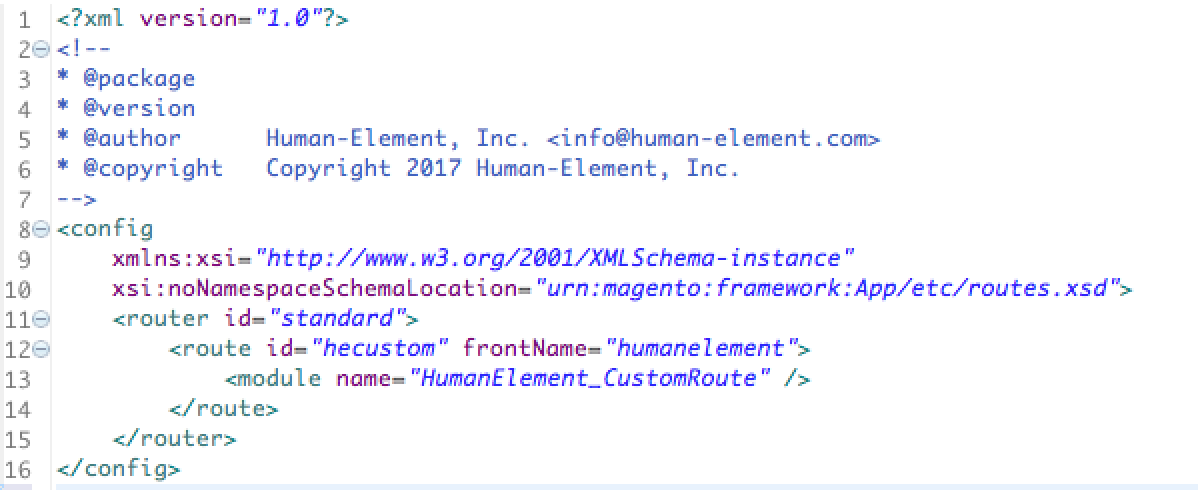
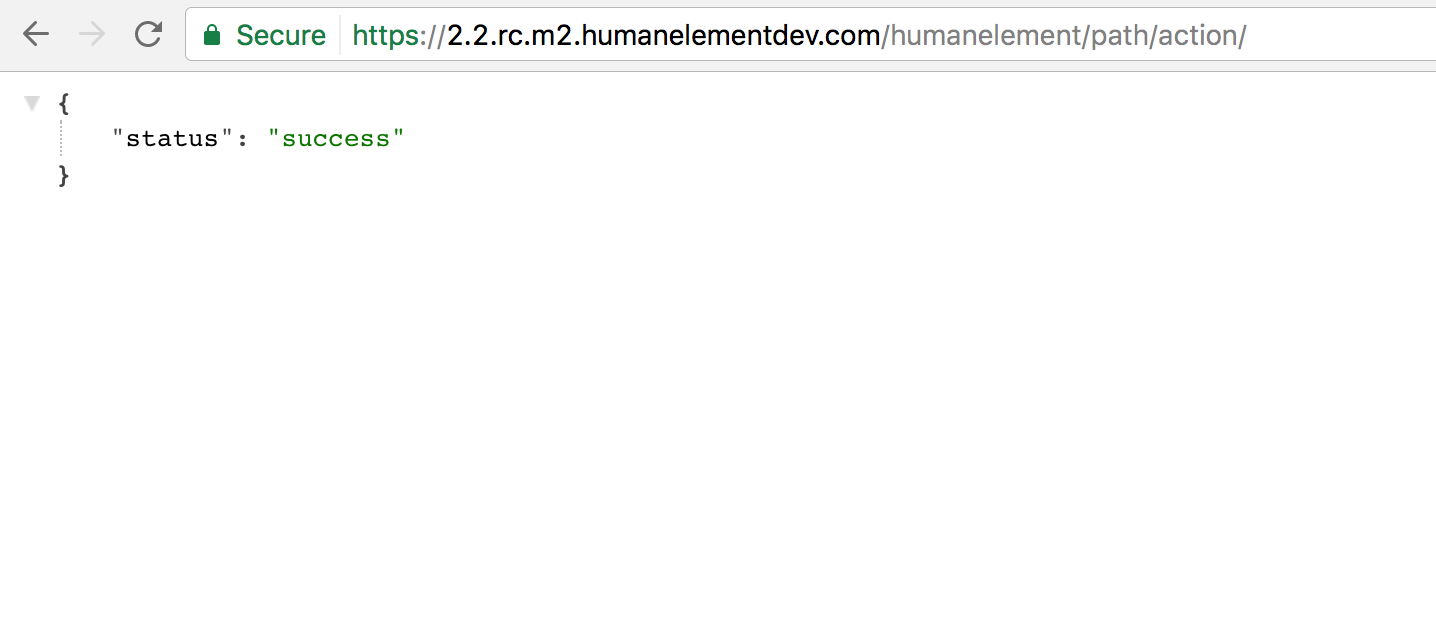
In this case, I’m showing an example where you could potentially return a JSON to the frontend by using the Magento framework json encoder. This could be useful for retrieving product information, inventory, or customer information. Really anything that you want, but I’m sure you can think of potential uses.
Action.php
<\?php
/**
* @package
* @version
* @author      Human-Element, Inc. <[email protected]>
* @copyright   Copyright 2016 Human-Element, Inc.
**/

namespace HumanElement\CustomRoute\Controller\Path;

class Action extends \Magento\Framework\App\Action\Action
{

    protected $_context;
    protected $_pageFactory;
    protected $_jsonEncoder;

    public function __construct(
        \Magento\Framework\App\Action\Context $context,
        \Magento\Framework\Json\EncoderInterface $encoder,
        \Magento\Framework\View\Result\PageFactory $pageFactory
    ) {
        $this->_context = $context;
        $this->_pageFactory = $pageFactory;
		$this->_jsonEncoder = $encoder;
        parent::__construct($context);
    }

    /**
     * Takes the place of the M1 indexAction.
     * Now, every action has an execute
     *
     **/
    public function execute()
    {
    	$response = array('status'=>'success');
        $this->getResponse()->representJson($this->_jsonEncoder->encode($response));
        return;
    }
}
Step 5: Let Magento Know About Your Module
The only three things left to do are to install the module into the database, run di:compile, and clear the cache. In this order:
cd [webroot]
php bin/magento setup:upgrade
php bin/magento setup:di:compile
php bin/magento cache:flush
You might want to get a cup of coffee while that finishes up. Afterwards, if you setup your module correctly, you should see a page with output that looks like this. Our goal was to create custom routes and now we have a fully functional module with a route accessible at [domain.com]/humanelement/path/action.
That’s it for this article. Next week we will expand on this module to allow for custom templating and inserting data into the module. If you like this tutorial please comment and let me know it helped! If you have issues, let me know and I’ll be happy to help out as much as possible.
Download the HE CustomRoute Module
Thanks!